#01 [AWS Cloud] – AWS Intro, setting up free tier account, IAM

cloud

Today we’ll start with a general look at cloud computing and its different types. Then, we’ll dive into AWS – setting up a Free Tier account, creating an admin user, enabling MFA for security, and getting familiar with IAM (Identity and Access Management). Let’s get started!

Cloud Intro

You’ve probably heard about AWS (Amazon Web Services) plenty of times already. You might even know that it’s a cloud service created by Amazon. But what exactly is “the cloud,” and why should you care?

Simply put, in the IT world, a cloud is kind of like a data center (a big building filled with servers running specialized software) that can be used by others to run applications, virtual machines (like running an operating system on your PC or laptop but in a more abstract way), databases, websites, and more.

So, is it just a data center with a fancy name? Not really.

The cloud is a service provided by third-party companies (like AWS, Azure, or Google Cloud) that lets you rent computing power, storage, and networking on demand. You don’t have to manage physical hardware.

Example: You store files on Google Drive or run a website on Amazon Web Services EC2 without worrying about maintaining servers.

A data center, on the other hand, is a physical location where a company owns and maintains its own servers and infrastructure. Everything is managed in-house.
Example: A bank having its own server room to store customer data instead of using cloud storage.

Feature Cloud Data Center
Ownership
Rented from a provider
Owned by a company
Scalability
Easily scalable (pay-as-you-go)
Limited by physical hardware
Maintenance
Managed by cloud provider
Requires in-house IT team
Cost
Pay for what you use
High upfront investment
Location
Remote (anywhere)
On-premises (physical location)

Different Types of Clouds

Not all clouds are the same! There are different types:

  • Public – Services like AWS, Azure, and Google Cloud, where resources are shared among multiple users.
  • Private – A dedicated cloud infrastructure used by a single company, usually within their own data center.
  • Hybrid – A mix of both, where companies use both public services and their own private cloud for flexibility.

Cloud computing is everywhere, powering everything from small websites to massive AI models. We will introduce some more cloud concepts in the next articles, but this knowledge is enough for now.

Set up free tier AWS account

AWS offers a pretty generous free tier account, and we’re going to take full advantage of that.

To get started, we need to go through the registration process. This includes providing some basic details – including credit card information. Don’t be discouraged! You won’t be charged unless you exceed the free tier limits, but it’s something to keep in mind.

💡 Tip: I successfully created an account using Revolut, and I highly recommend using such card  instead of your main bank card – just to be safe.

Steps to create free tier account

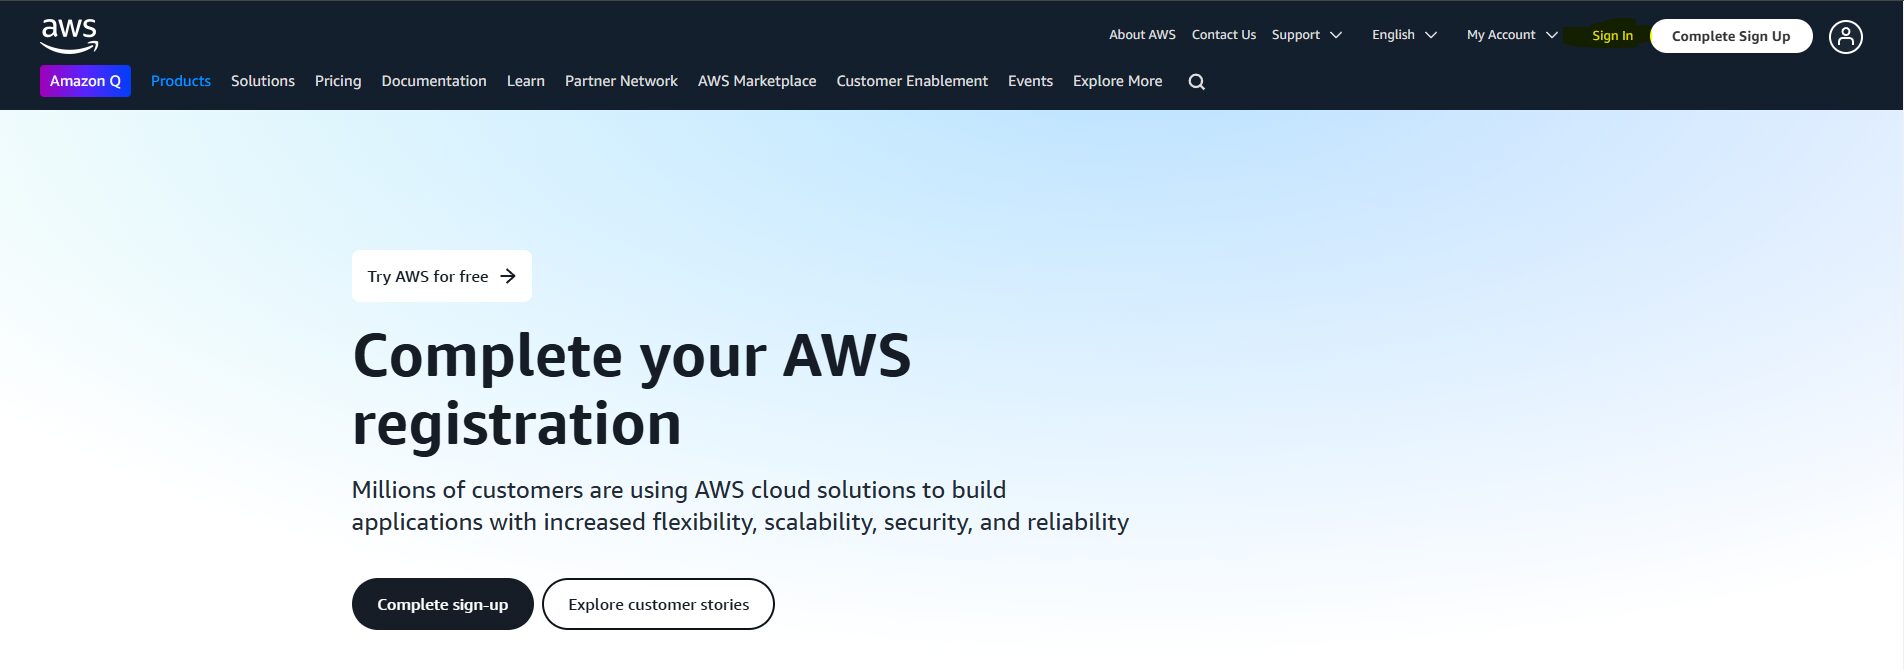
  1. Go to aws.amazon.com and click “Sign In” (top right corner).
  2. Click “Create a new AWS account”.
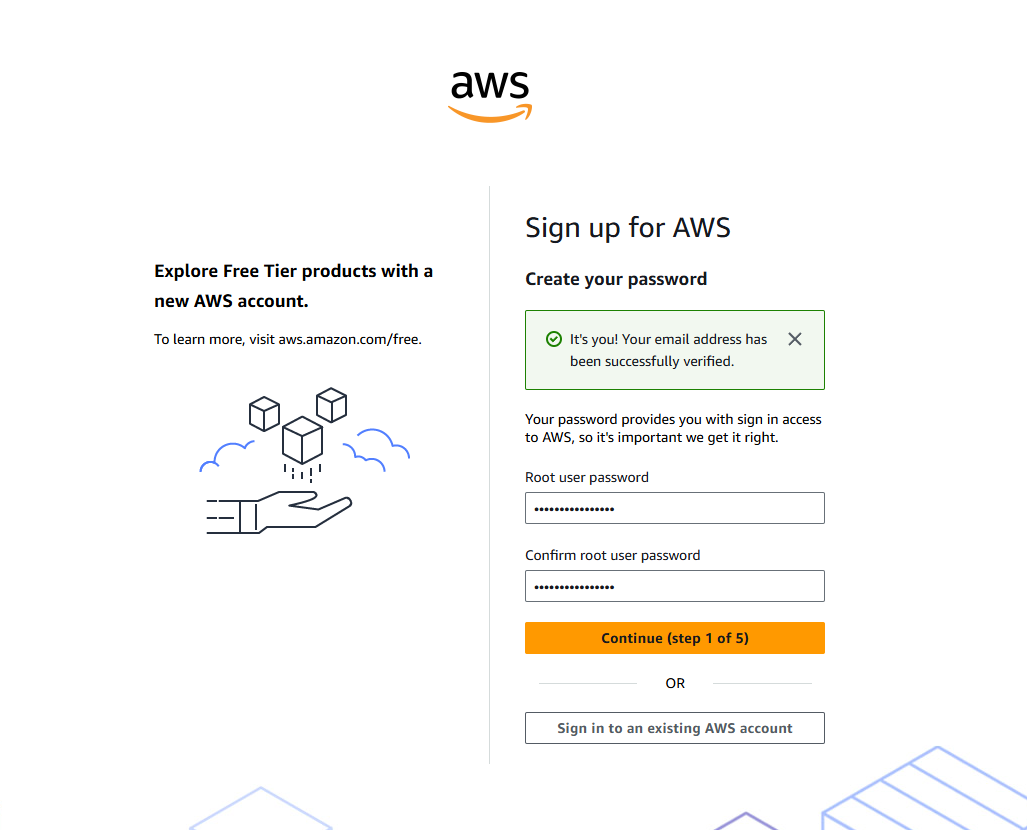
  3. Enter your account details and click “Verify email address” (you will receive a code).
  4. Choose a strong root user password.
  5. Provide some personal information.
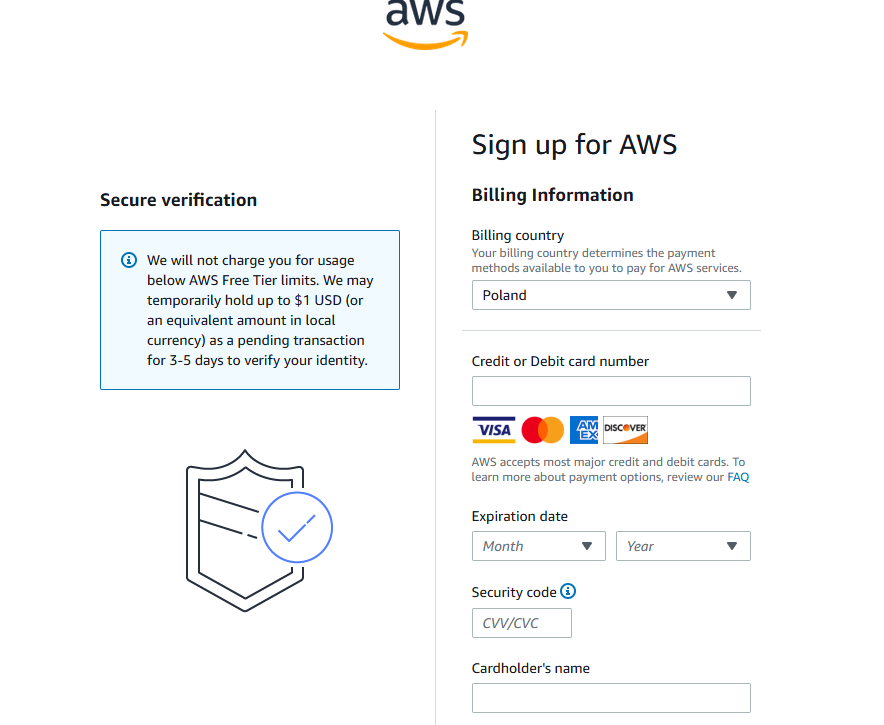
  6. Enter your billing information (you’ll be charged and refunded 1 EUR to verify your details).
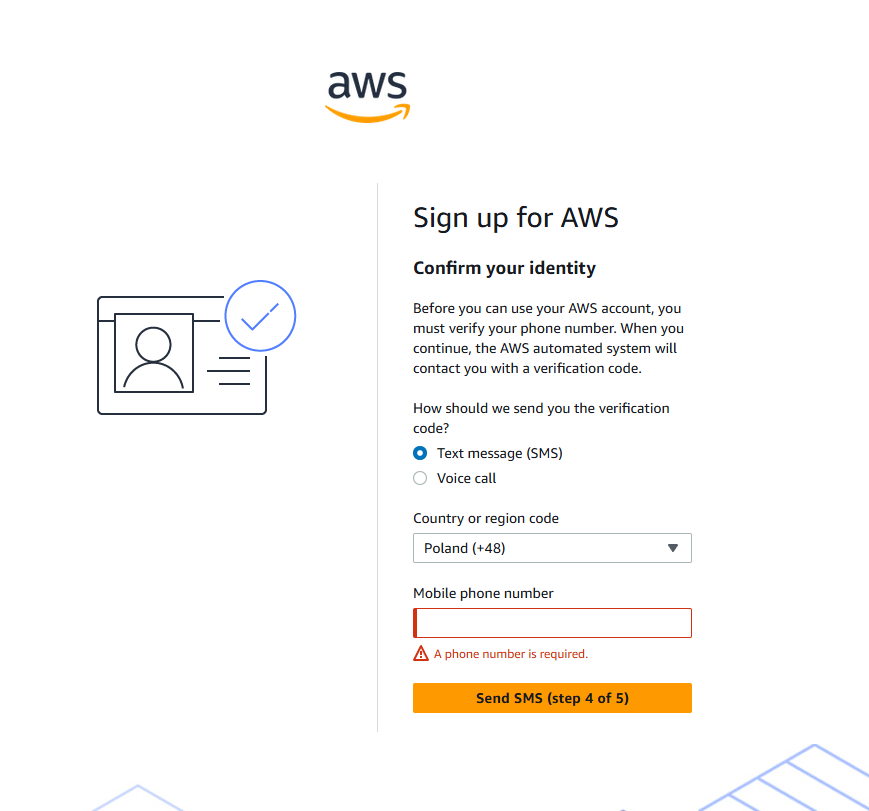
  7. Enter your phone number and verify it with a security code.
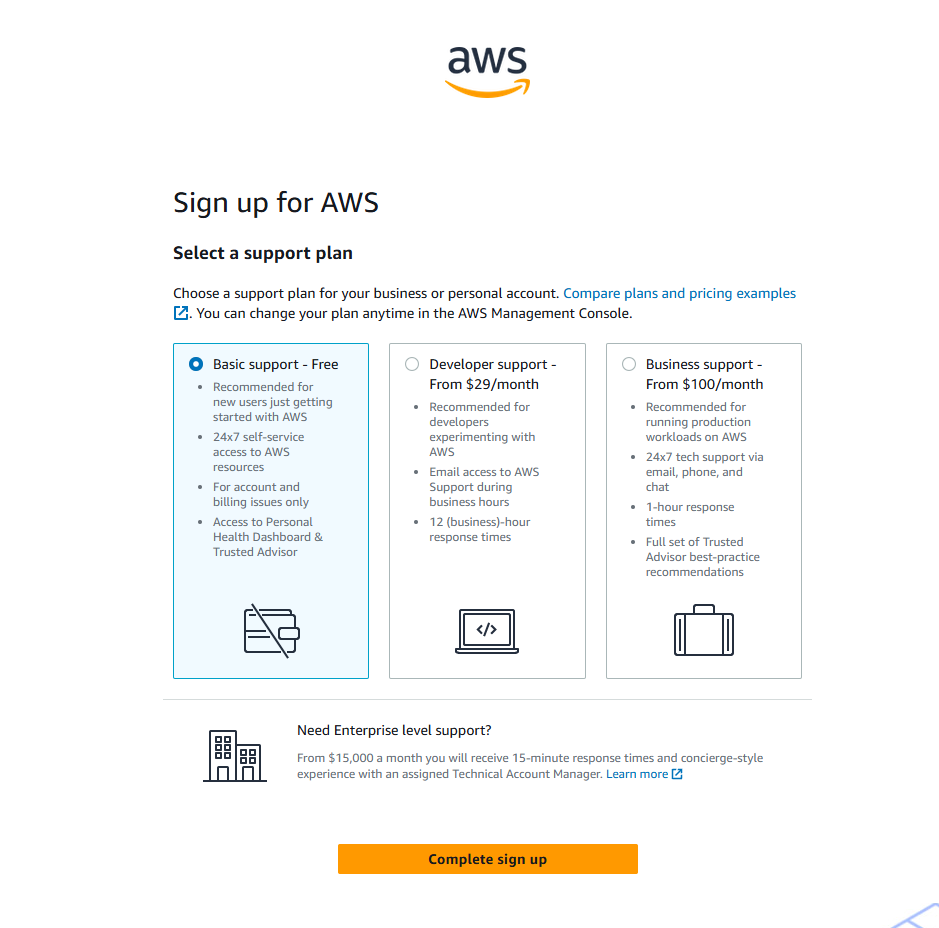
  8. Finalize the account creation process.

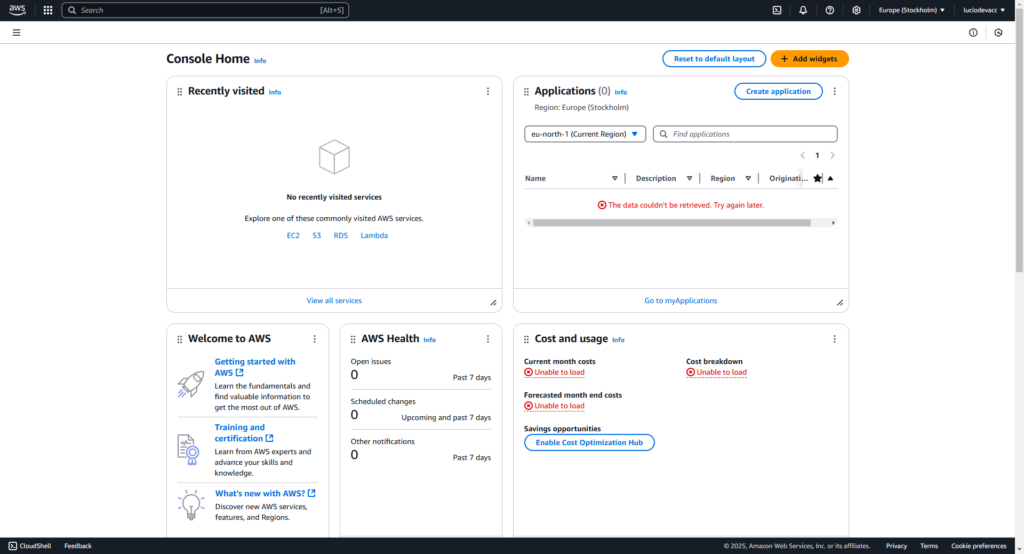
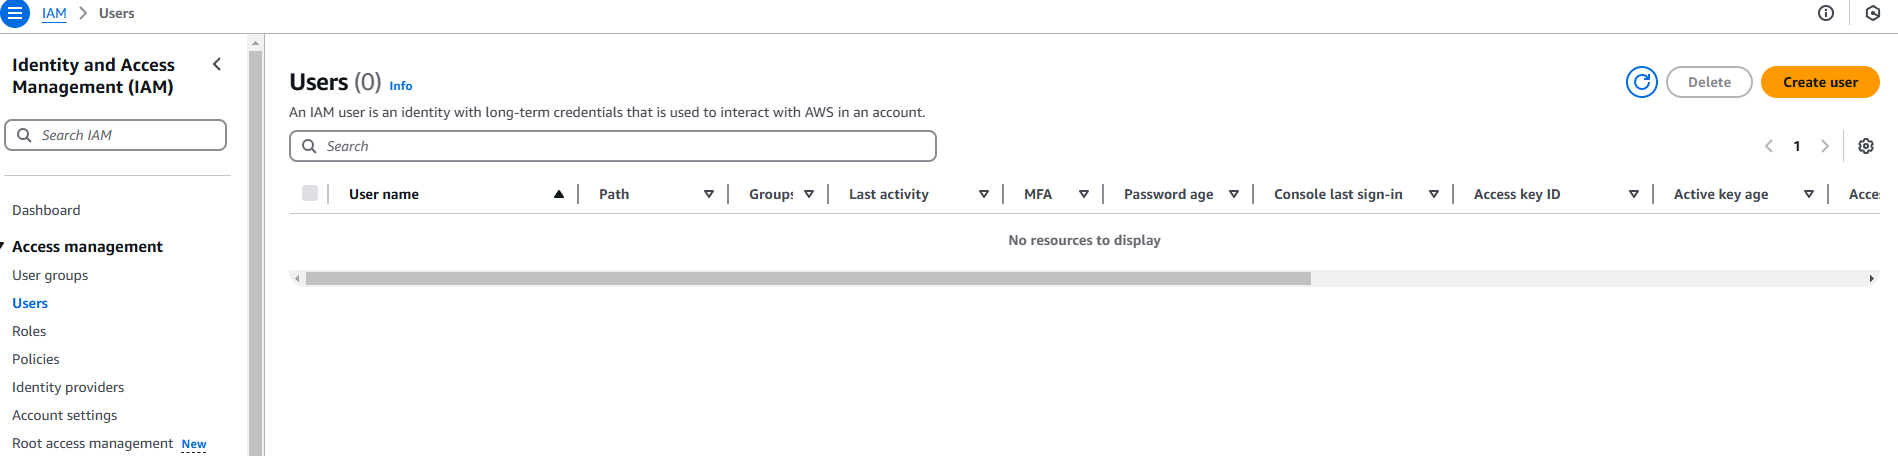
First Look at the AWS Management Console

Now that your account is ready, you can log in and access the console. It might feel a bit overwhelming at first, so take a deep breath.

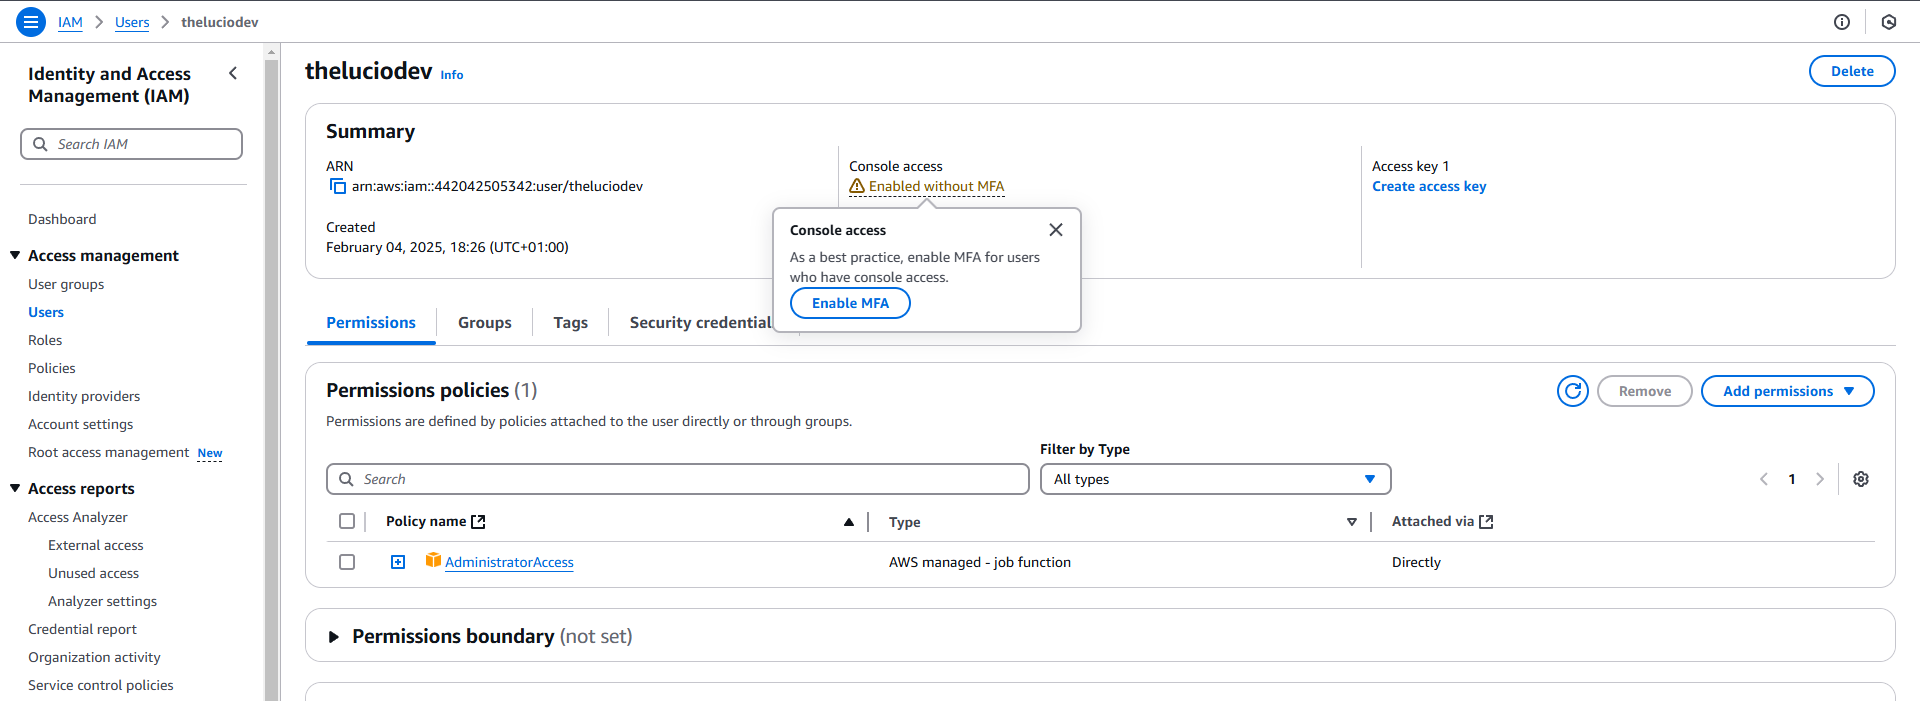
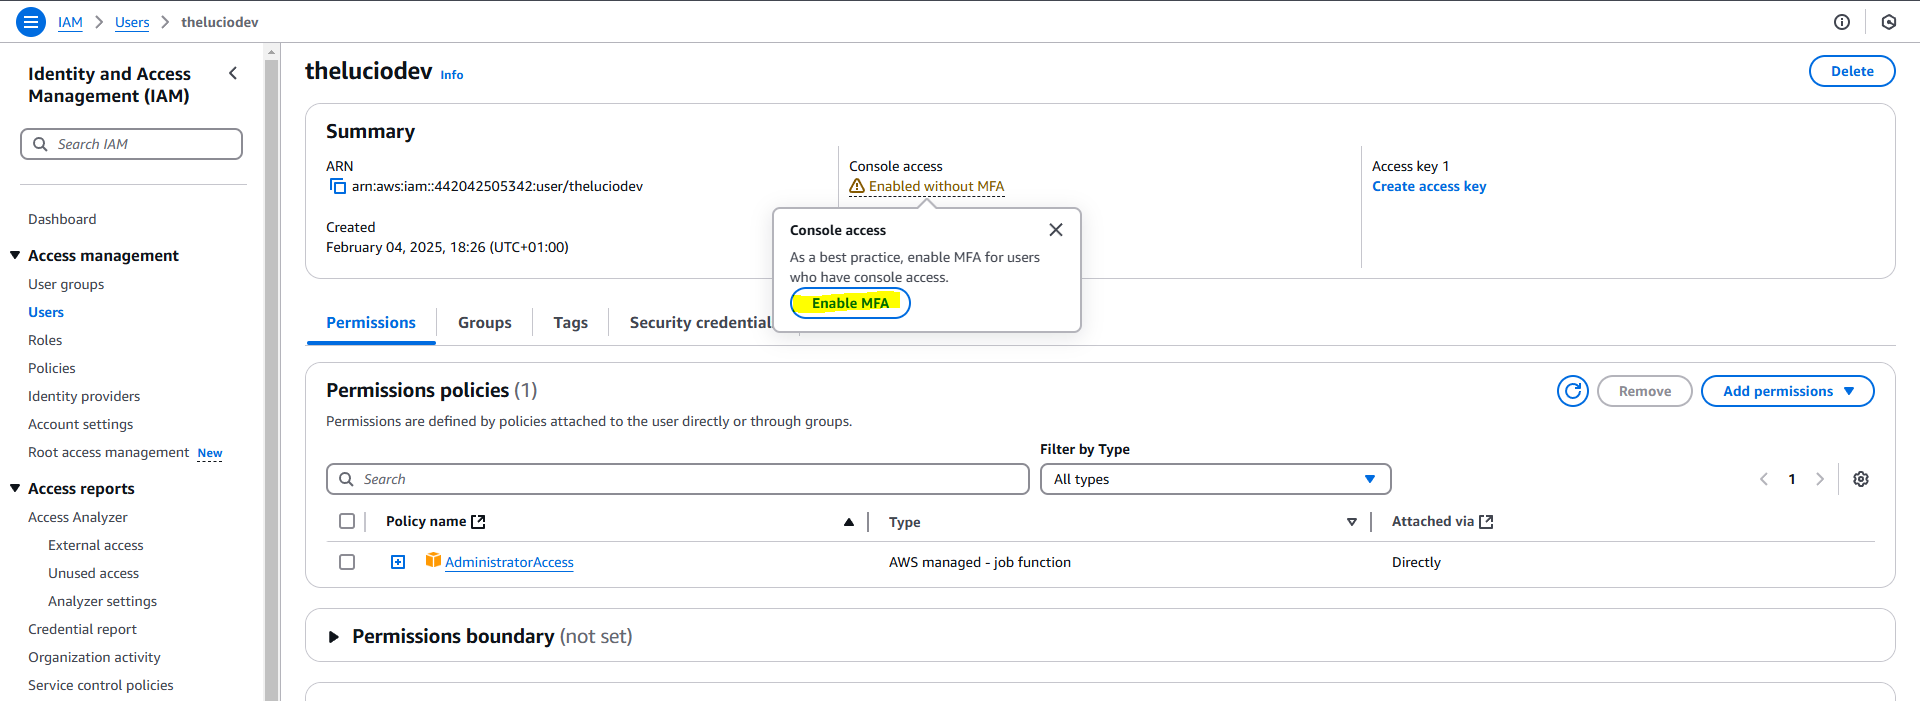
In the upper-right corner, you’ll see the currently logged-in user. Right now, it’s the root user – the one we just created.

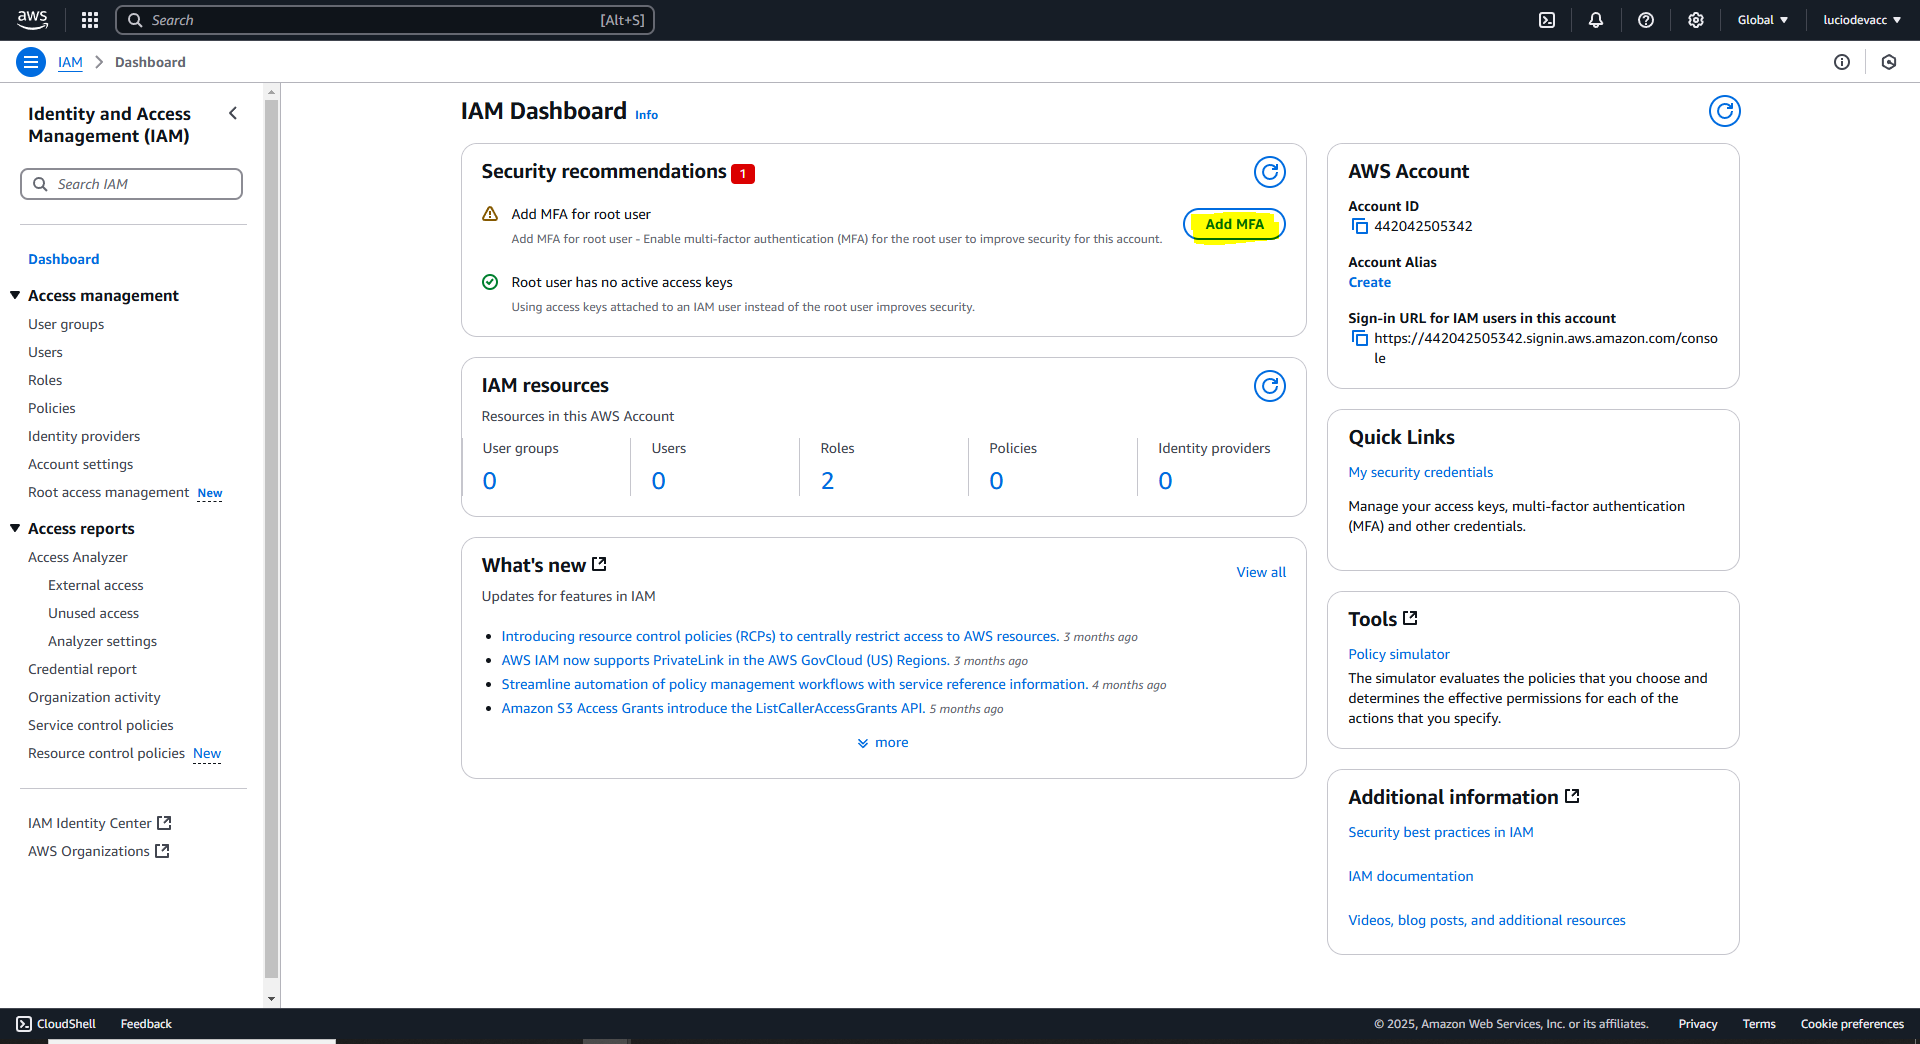
🚨 Important: The root user is like the king of your account – it has full, unrestricted access to everything. Using it for day-to-day tasks is a bad idea (too risky!).

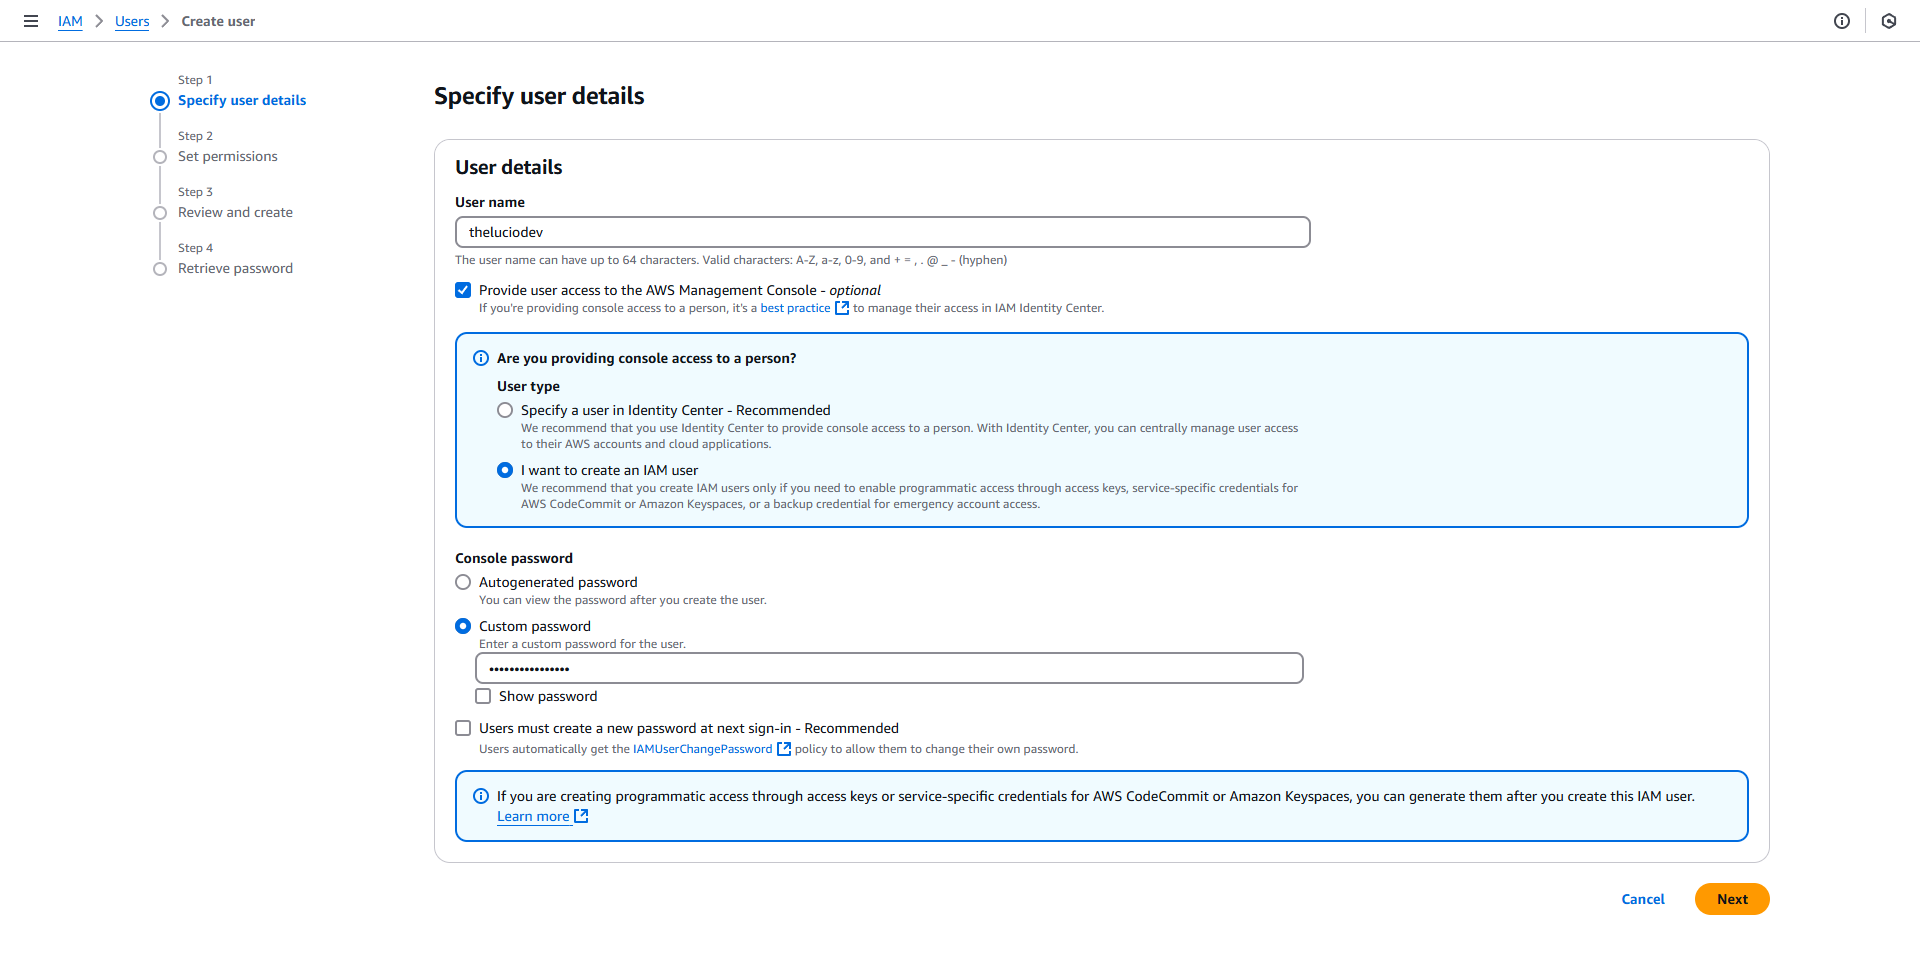
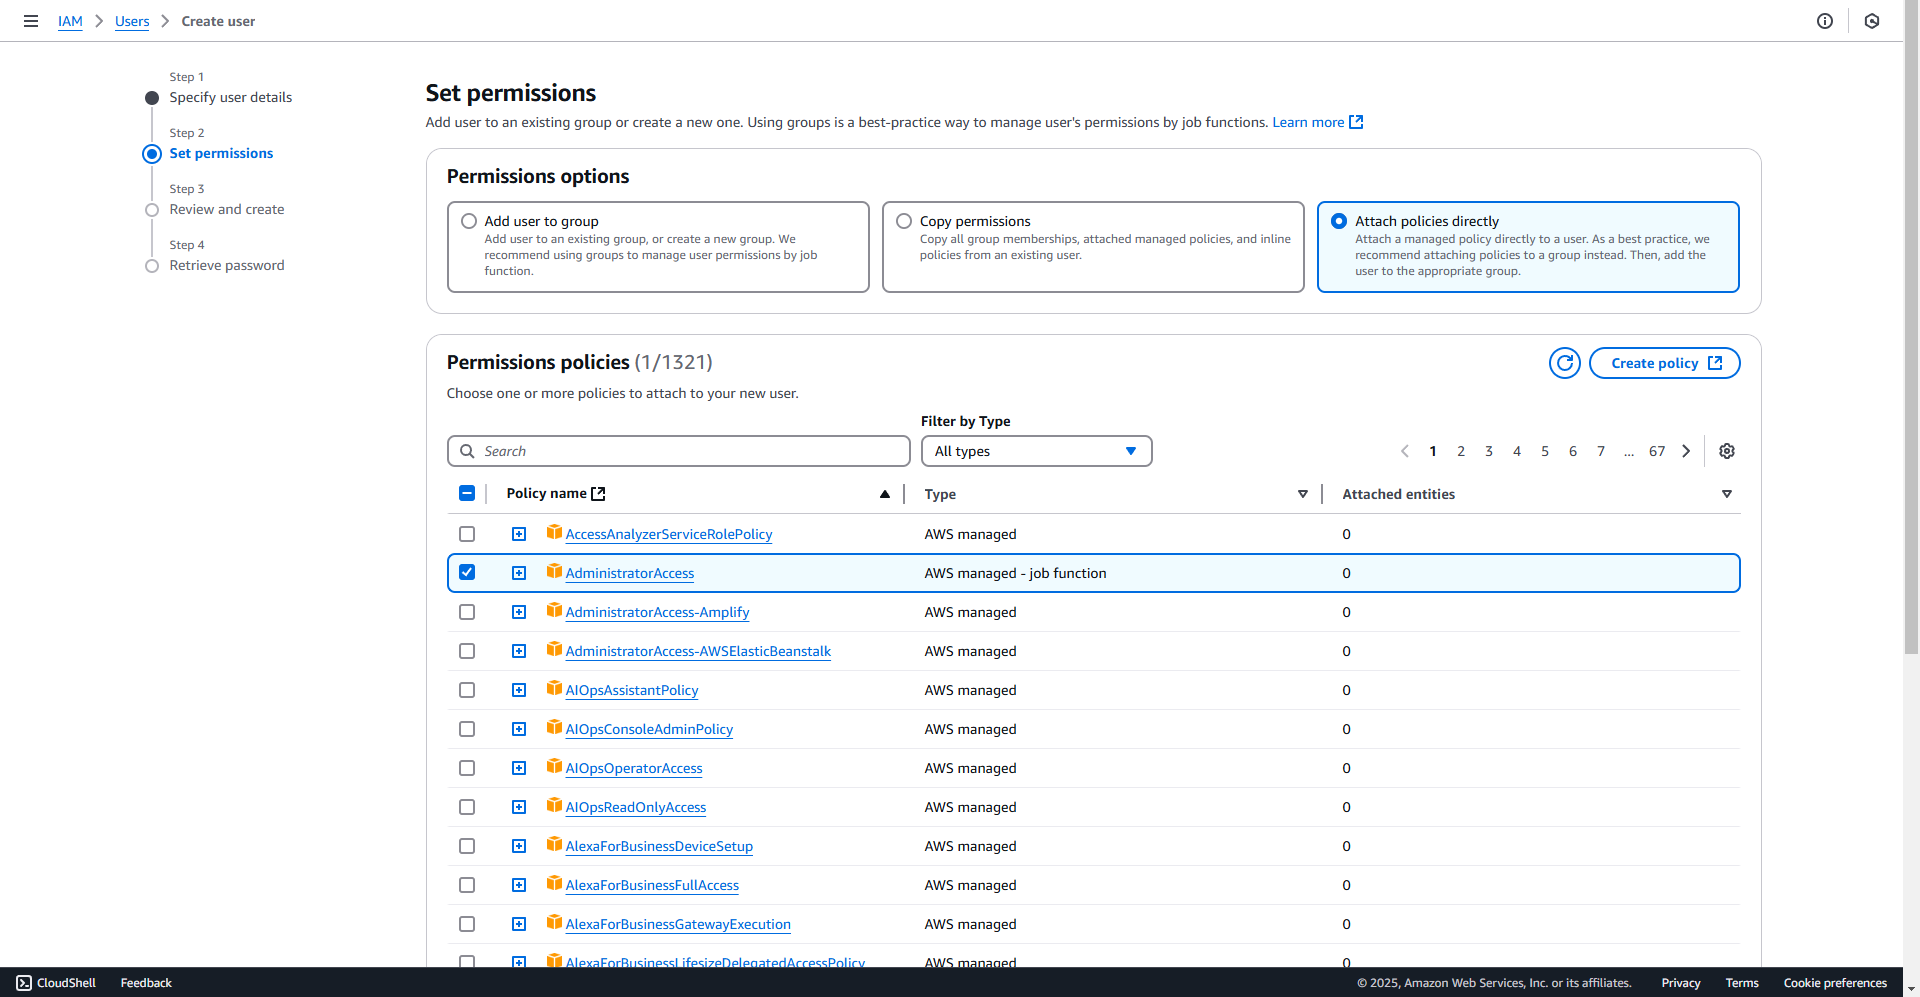
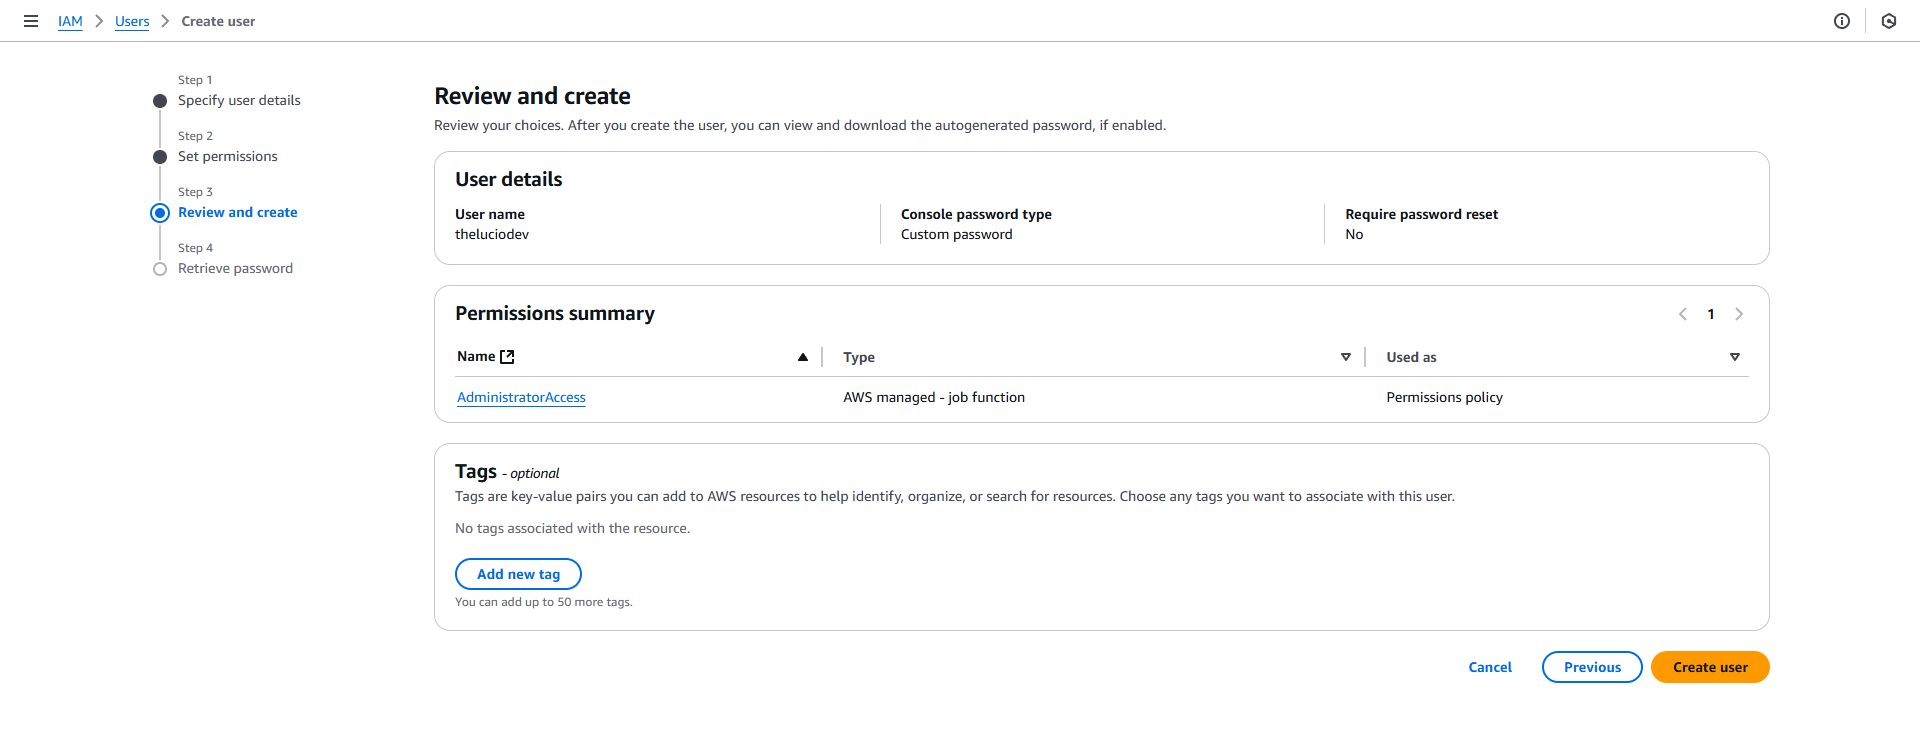
So, before we do anything else, we’ll secure root user and create a new user, grant it the necessary permissions, and almost never use the root user again. Let’s do that next!

aws console
First look into AWS console

Setting up MFA for the root user

Before we go any further, let’s quickly enable MFA (Multi-Factor Authentication) for our root user.

There are many aspects of authentication and authorization that we’ll discuss later, but for now, just know this: MFA makes your account much more secure by requiring not only something you know (your password) but also something you have (your phone or a security token that generates one-time codes).

  1. In the AWS Console, type IAM in the search bar and click on it.
  2. In the IAM Dashboard, you should see a security recommendation to “Add MFA” for the root user – click that.
  3. Choose a clear and descriptive name for your MFA device.
  4. Select the type of MFA device you have: If you’re using a phone, you can use apps like Google Authenticator or Authy (I’ll be using Google Authenticator). 
  5. Other options include hardware security keys like YubiKey
  6. Download and install the authentication app on your phone if you haven’t already.
  7. Follow the on-screen instructions to scan the QR code and complete the setup.
  8. Enter the generated authentication code to verify everything works.

Done! Now, every time you log in as the root user, you’ll need to enter both your password and the MFA code from your app. This extra step makes your account much more secure.

🚨 Important: The root user has full control over your account, so keeping it locked down with MFA is a must!

What is IAM?

IAM (Identity and Access Management) is like a security guard for your account. It controls who can access what and what they can do inside the account.

As we discussed earlier – when you first create an account, you start with one super-powerful user – the root user. This user has full control over everything in your account. But using the root user all the time is too risky (imagine walking around with your life savings in cash – bad idea!).

That’s where IAM comes in. Instead of using the root user, we create regular users with specific permissions.

How IAM Works (The Basics)

IAM lets you manage access using three main things:

  1. Users – Individual accounts for people (like you and your team).
  2. Groups – Collections of users with shared permissions (e.g., a “Developers” group).
  3. Policies – Rules that define what users and groups can do (e.g., “can start EC2 instances but cannot delete them”).

That’s the core idea. But there’s more to IAM than just users, groups, and policies. There are also IAM Roles, which are incredibly useful. For example a Lambda function (which is an Amazon Web Services resource) can claim role to execute some actions on other AWS resources like: S3, EC2, RDS but let’s save that for later.

A Few Things to Keep in Mind

✅ A user can belong to multiple groups (10, permissions of those groups are combined).
✅ Some users may have individual permissions that override group settings.
Groups cannot be nested – meaning you can’t put one group inside another.

The diagram below gives you a high-level overview of how IAM is structured. We’ll definitely revisit this topic later and dive into more advanced IAM features. But for now, this is all you need to get started.

aws iam overview

Setting Up a Administrator User

Now that we have our account set up, let’s stop using the root user and create a proper admin user for ourselves.

As an exercise, we’ll also enable Multi-Factor Authentication (MFA) for extra security on our new admin user.

  1. Go to the IAM Console (from the Management Console).
  2. Click “Users”“Add user”.
  3. Choose a username (e.g., “LucioAdmin”) and enable AWS Management Console access.
  4. Attach the AdministratorAccess policy.
  5. Enable Multi-Factor Authentication (MFA)
  6. Download the credentials (username and password) and store them securely.
  7. Log out from the root user and log in with your new IAM user. 🎉

🚨 From now on, you should only use this IAM user—the root user should stay locked away unless absolutely necessary!

Note: In our setup, we created a standalone user (like “UserA” in the diagram) with AdministratorAccess attached directly – meaning we didn’t use groups or roles this time.

IAM Best Practices

Use IAM users instead of the root account.
Assign permissions carefully (don’t give more access than needed).
Use IAM groups for easier management (e.g., “Developers,” “Admins”).
Enable Multi-Factor Authentication (MFA) on all users (especially root!).
Use IAM roles for applications and services instead of storing credentials in code.

Excerise

To make sure you don’t accidentally overspend, let’s set up a budget alarm for your new account. You can create a $5 limit or even a $0 spend alert—this way, you’ll get notified if any charges start appearing.

This is a simple but essential step to keep your cloud costs under control from day one.

For reference, check out this official video: AWS Budgets Tutorial

Summary

1️⃣ Never use the root user for daily tasks – Instead, create an IAM admin user and secure it with MFA.

2️⃣ IAM lets you control access using users, groups, and policies

3️⃣ MFA adds an extra layer of security – It requires something you know (password) and something you have (authenticator app), making your account much safer.

In the next article, we’ll break down:

🔹 Regions & Availability Zones – How Amazon Web Services spreads its data centers globally for reliability and speed.
🔹 VPCs (Virtual Private Clouds) – Your own private network inside AWS, essential for security and networking.
🔹 EC2 (Elastic Compute Cloud) – The backbone of AWS computing—how to launch and manage virtual machines.

0
Would love your thoughts, please comment.x
()
x
Scroll to Top